Welcome to the Black & Tan blog!
Thanks for checking out our site! We have just begun construction on a Mckenzie River Style drift boat that we have affectionately named the Black & Tan, which will be her ultimate color scheme. It is no coincidence that she shares her name with one of the greatest adult beverages of all time. We have chosen this proven design because we are confident it will serve us quite well in the waters we fish most, which include the The Housatonic and Farmington Rivers of Northern CT, The inshore waters Long Island Sound, and most recently the Great Lakes Tribs and the wonderful St. Lawrence River waterway, a place that Mack calls home. We obtained the boat plans online, similar plans are available through Rivers Touch. She will be 14 feet long with a relatively wide beam and bow rocker for safely navigating the rapids but she will also have a high and wide, slightly rockered, transom which can accomodate a up to a 10hp motor should we decide to venture out into the brackish bays and estuaries of Long Island Sound. Unlike most traditional drift boats, this boat can be used both as a flat bottom motor skiff and a rowing dory. Our project has just begun, and we are full of enthusiasm. The design and finish concepts change every day, who knows what the final product will look like, but thats half the fun! We hope you enjoy our site, we will try to update it weekly if possible. Thanks for stopping by!

For more info on the Rapid Robert Mckenzie River Skiff we are building, Click Here or better yet, Here

Wednesday, April 10, 2013

Week 2 continued...sure picked a bad time to stop sniffing glue!

Hope you caught that "Airplane" reference, If not no worries lets move on.  Alright so as you can see, the sides are cut and ready to be joined.  we begain with the center rib and moved out from there, so rib 4, then 3&5, then 6&7 and lastly the stem.  Each rib was slathered in West System Fast Curing Epoxy and then tacked to the walls using a nail gun for placement .  Then we used 1.25in stainless screws for fastening. We clamped a piece of scrap to the bottom of the rib to ensure the bottom edge of the wall was flush with the bottom edge of the rib.  I wish we had more photos of this assembly but the was not much time as we were working with the fast curing epoxy....


After the sides, transom and stem was joined, we let the boat sit overnight to cure.  The next day we began work on the Chines.  Mack found a nice deal on a 16'x8" piece of Sapelle which we cut our chines from and will eventually use for for the gunnels as well.  Real Nice stuff!  We ripped our 1.5 inch Chines using the table saw then planed them down fit the rib notch width ( 5/8 in).  We tacked them into place and secured them using the epoxy and clamps where necessary.  The strong sapelle chines did not want to make the final curve for the rise in the transom, so we let them float and then cut in trim pieces to fill the gap between the 6th rib and transom. 
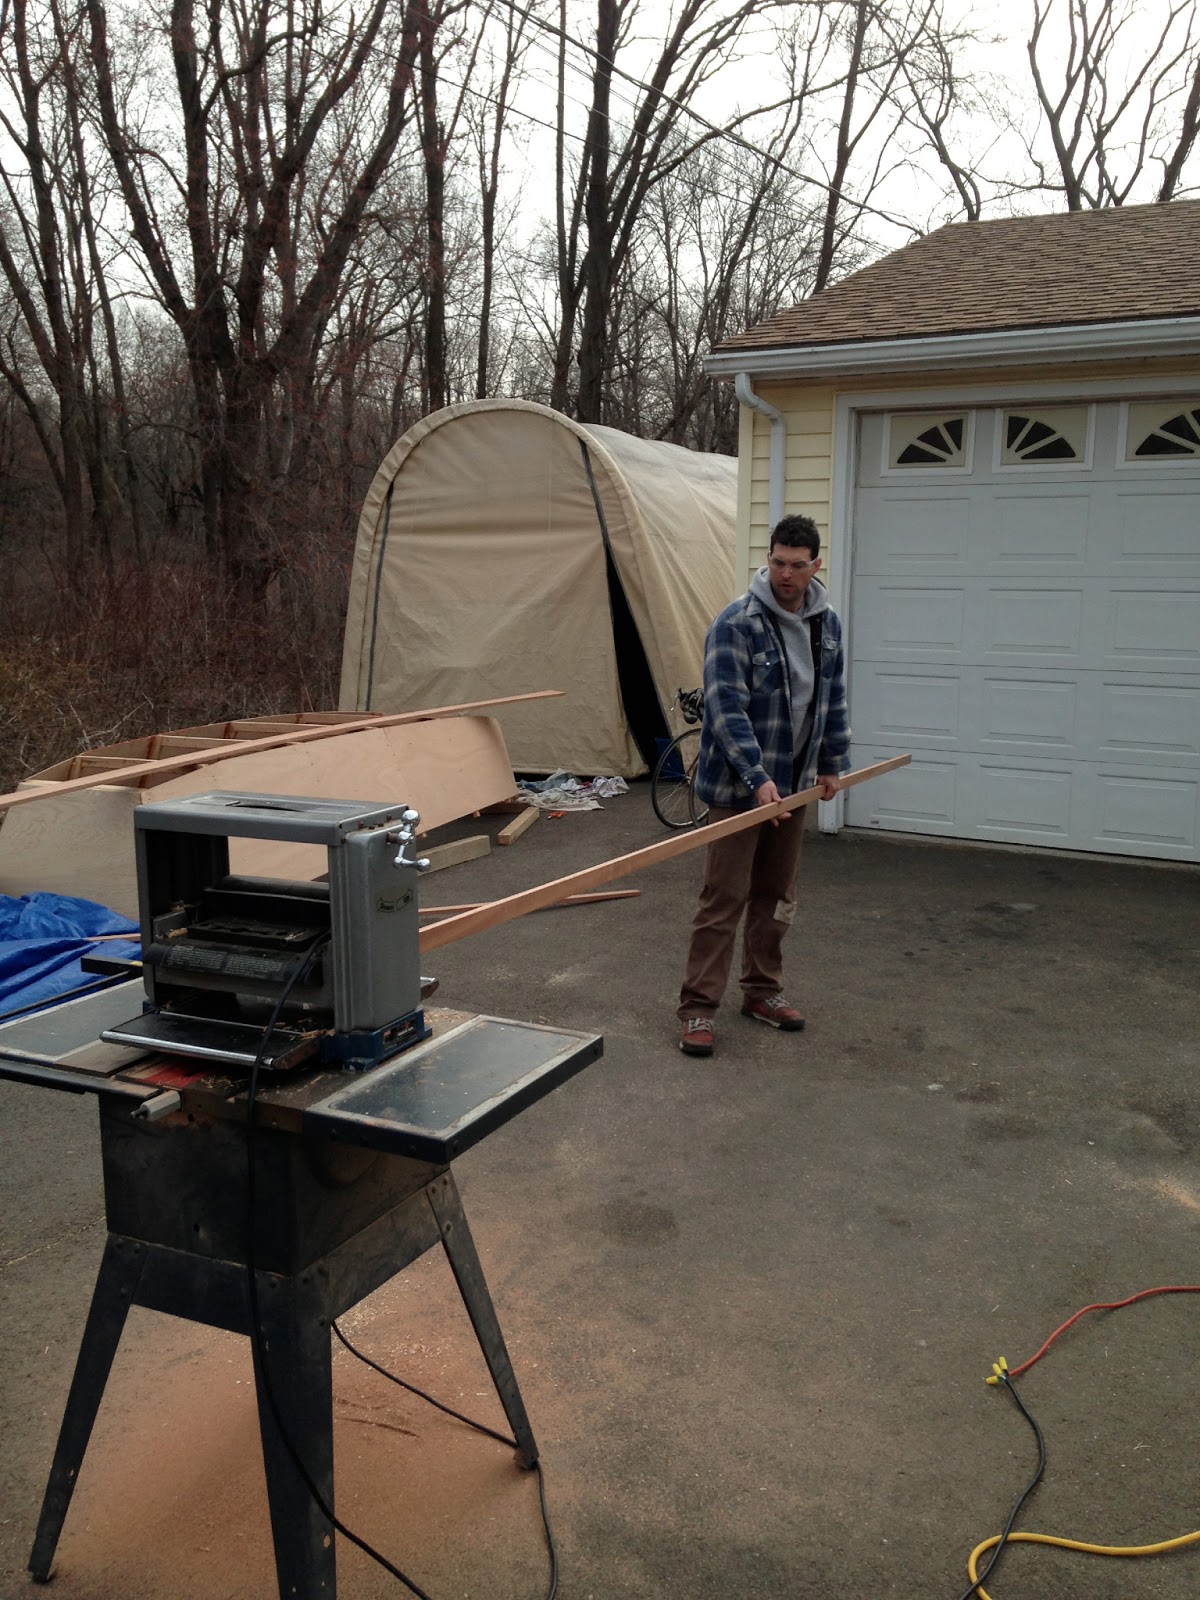
planing the chines

a true lifesaver, though she has been a little temperamental lately.

Sapelle Chines

fittling the chines


"What were gonna do in this boat Bross? " "Catch Fish!!!!"


No comments:

Post a Comment